

After I completed the pipe organ quilt, I was approached about making a quilt for the handbell choir director. I looked around for a while and then figured out a really fun idea after seeing this clip-art image.
I realized I could use batik fabric and make the stained glass look more realistic. I would use my beloved crepe back satin to make the bell. The question was how. There were too many colors to try a reverse applique, and I didn’t think piecing them together like I do in paper-piecing would look like the slightly imperfect leading of stained glass. In the end, I realized that I couldn’t do much else than piece it together like a puzzle and applique it onto the white fabric. Since it would be a wall quilt, I knew it wouldn’t take a beating like some of the other quilts I make.
So first, I picked out the fabric. It’s one of the few times I have bought fat quarters. I also had some blue batik on hand at home from a previous graduation quilt.
I used a projector to trace the clip-art onto paper at the proper size, and then I traced the image onto the fusible interfacing. This explains why the image is reversed from the original clip-art.
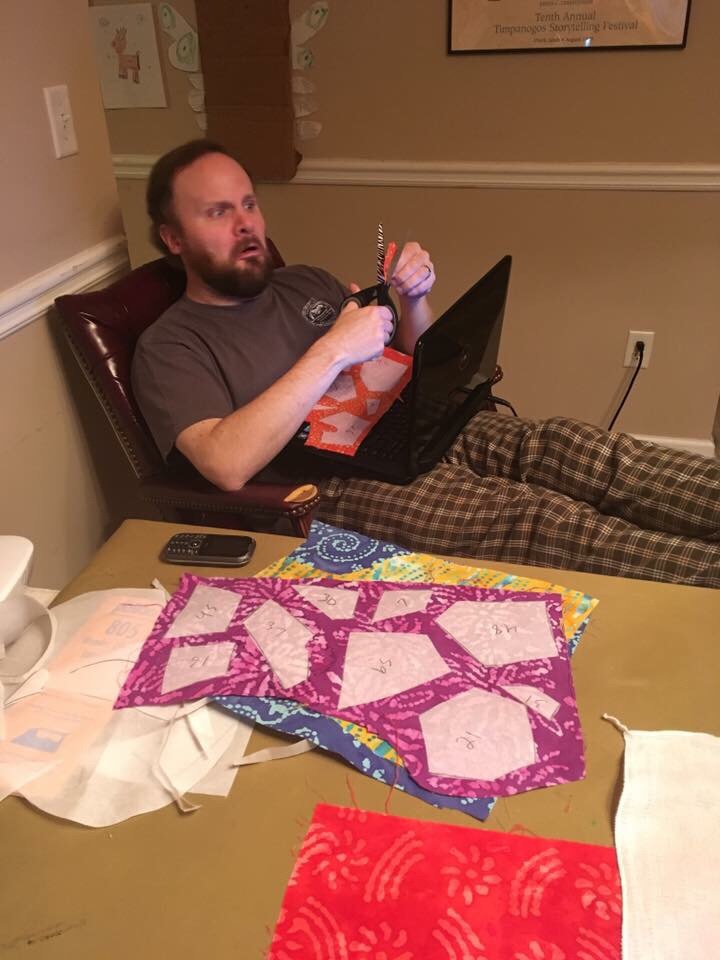
In order to keep the piecing straight, I had to number them and take pictures for reference. Then I cut the pieces out and ironed them onto the different colors, mostly at random. There were so many pieces that I had to put my husband to work helping me. He was thrilled….
Then I reassembled the pieces and ironed them down.
From here, I began the tedious task of using the close-set zigzag stitch between all the piecing to recreate a “leading” look like there is in stained glass windows. Then I used some leftover black binding from a previous project and made the window outline.
At this point I was ready to quilt. I used a black backing and black thread on my bobbin with a white top thread. I did a normal stipple in the white area. I thought long and hard about how to handle the window part. I didn’t want anything taking away from the stained glass look or the bell. In the end, I played it safe and did a simple straight stitch over the black leading between the batik fabrics. Then I used a dull gold/yellow thread I had to give the bell curves and add depth to it.
The last thing I did was add a sleeve.
So there you have it - from clip-art to quilt!
Related Blogs and Posts:
Advanced Quartet Rocks the Handbells
Handbell ringers want to pass on ‘dying art’

